Building a widget part: Step 1: I began by opening a standard.ipt file and selecting my plane to work on.
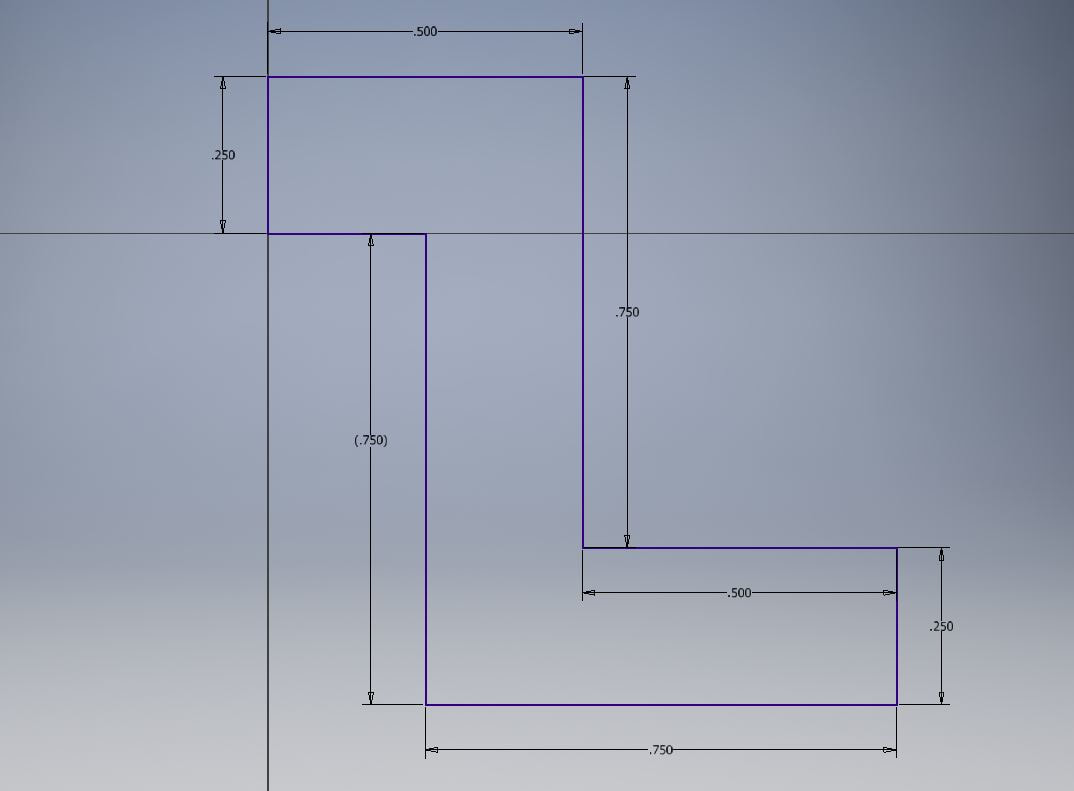
Step 2: Next, I sketched and dimensioned the shape of the widget I was creating on the 2D plane.
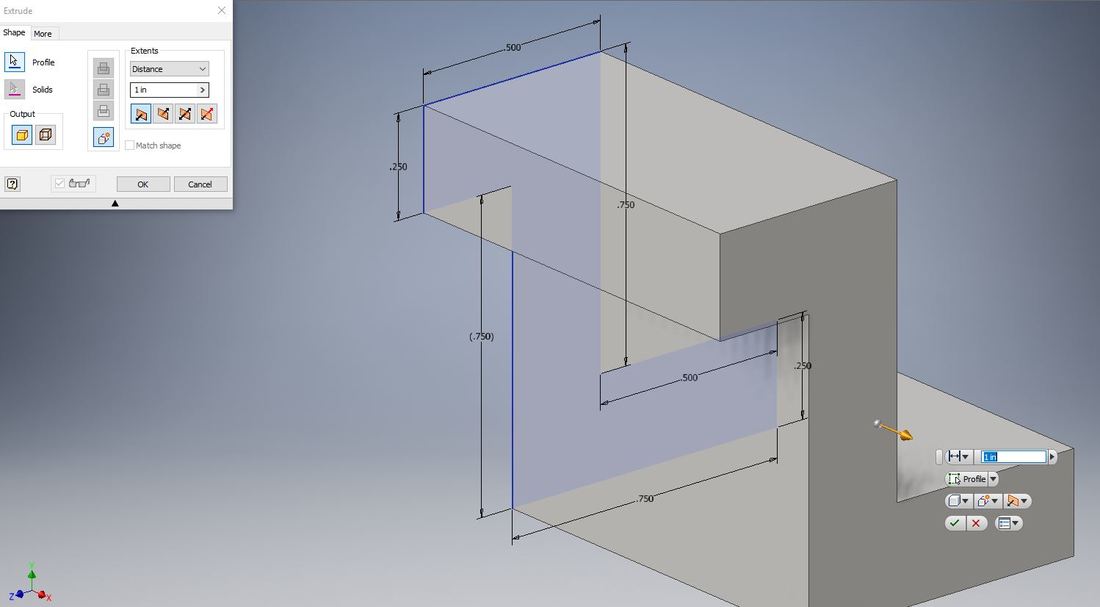
Step 3: I then finished the sketch and used the extrude tool to make the two dimensional image a three dimensional model. The length I extruded it too was one inch.
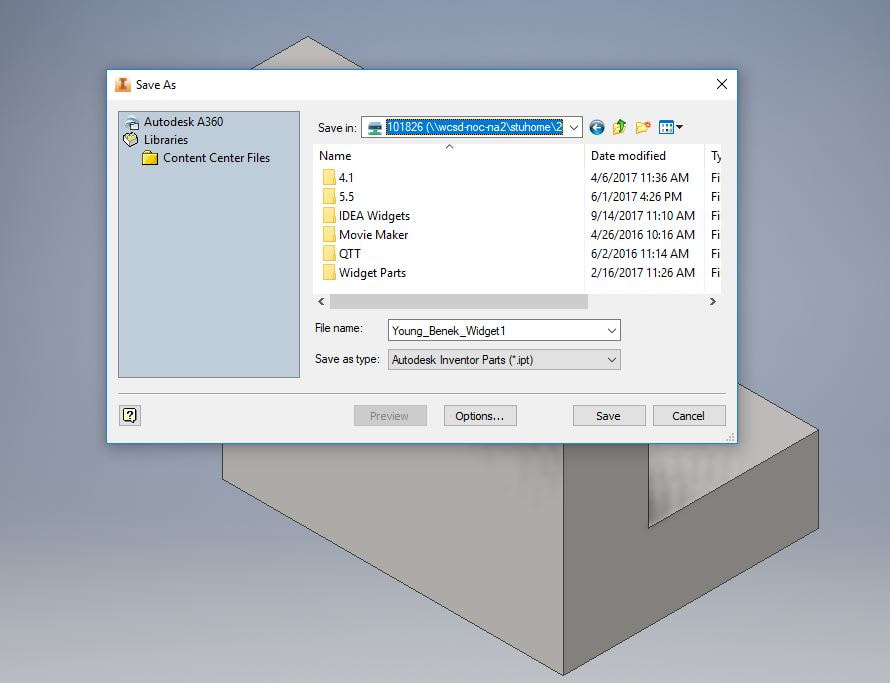
Step 4: Lastly, I went to the home button next to the navigation cube, and then saved my part as 'Young_Benek_Widget1' in my H drive.
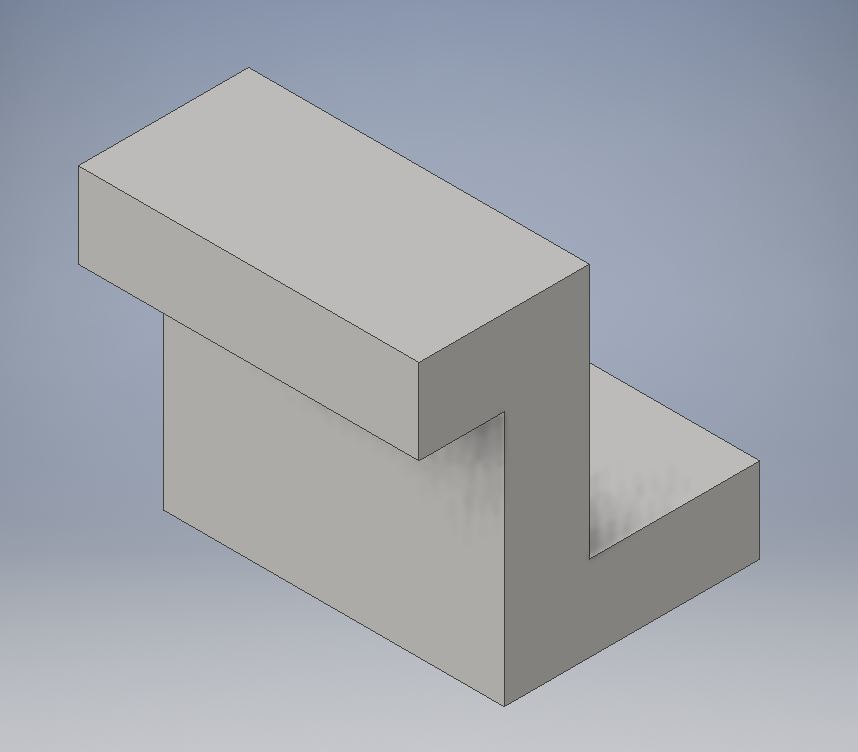
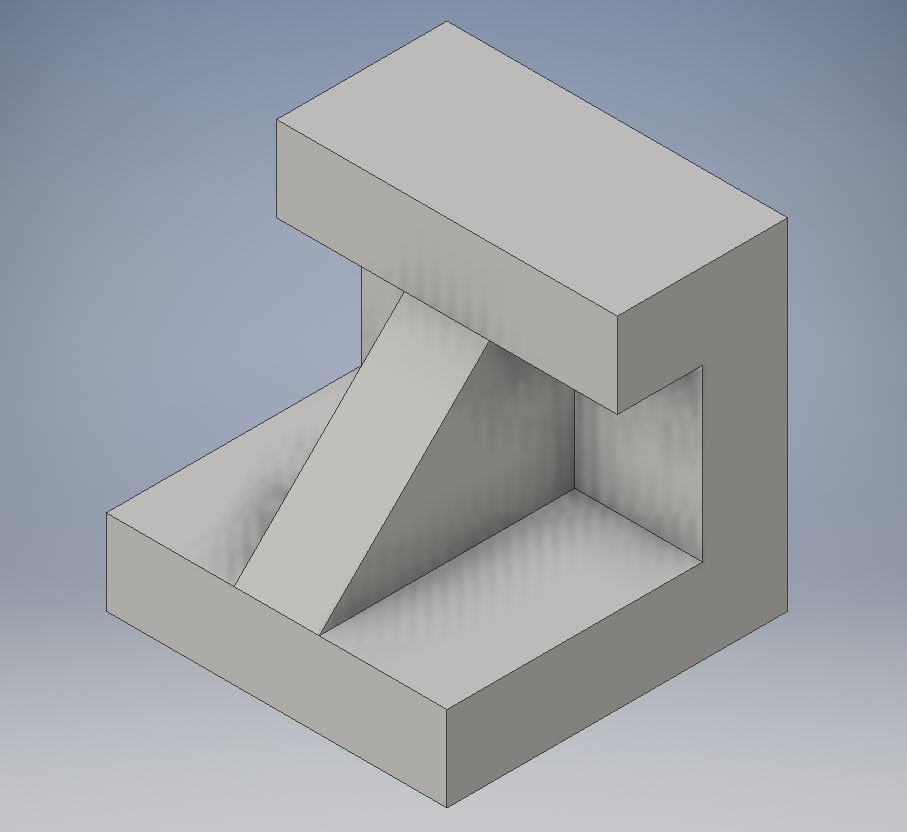
Widget #1
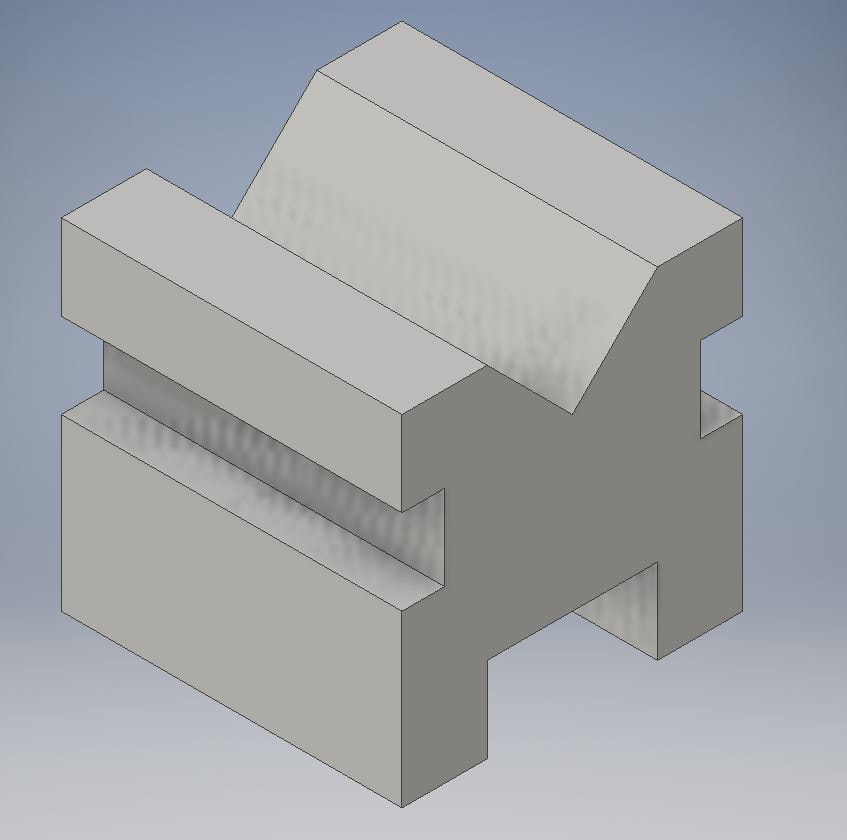
Widget #2
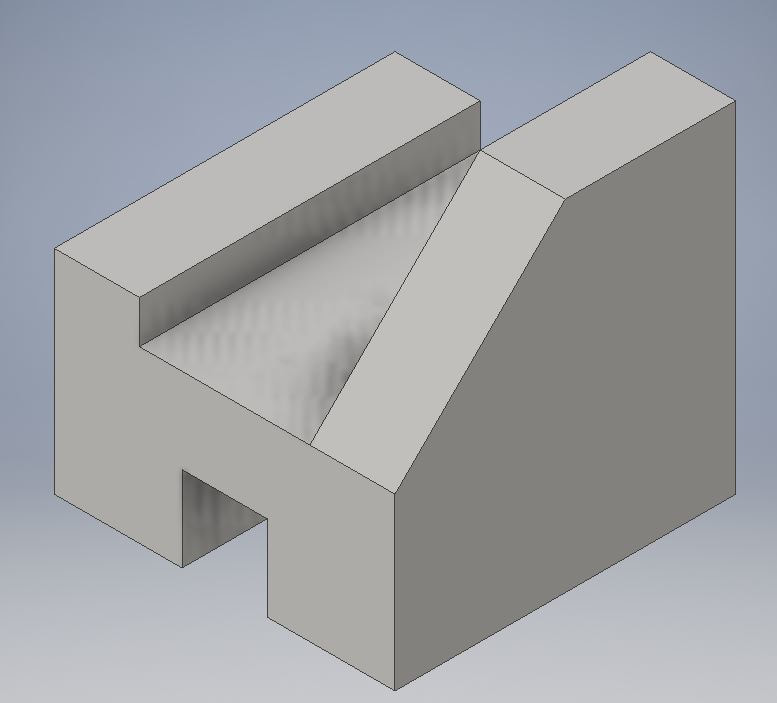
Widget #3
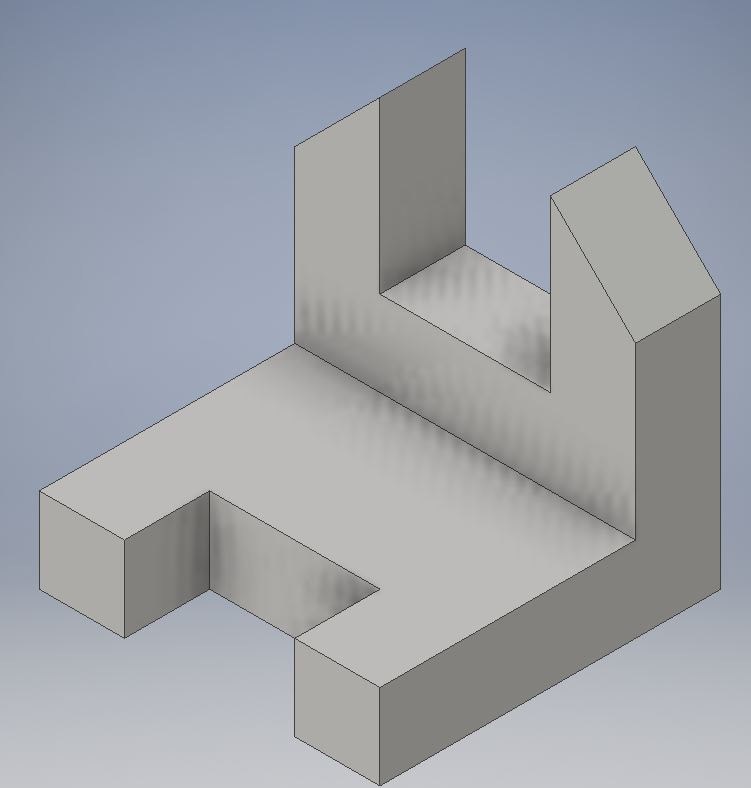
Widget #4
Widget #5
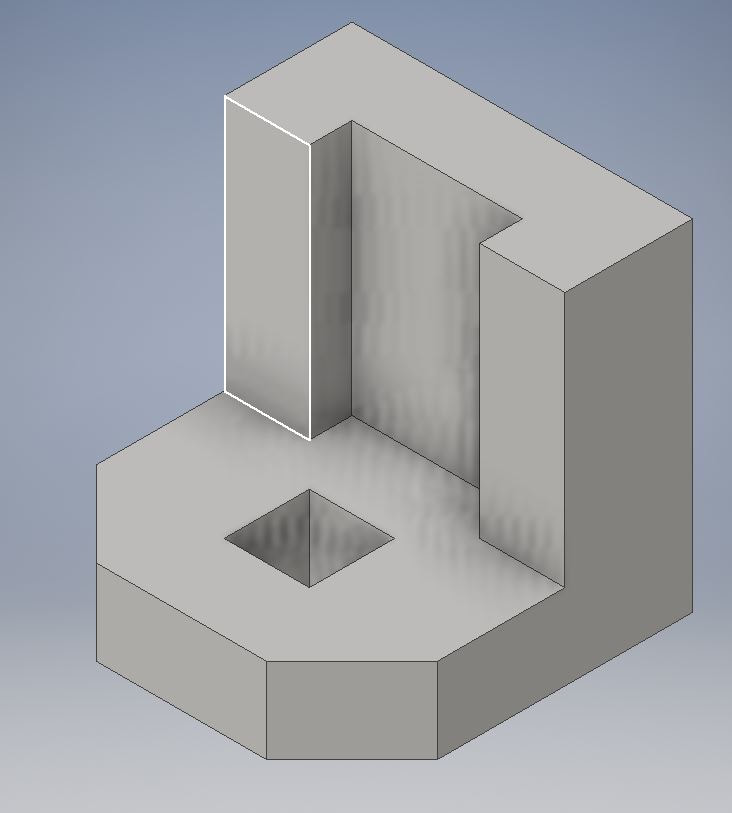
Widget #6
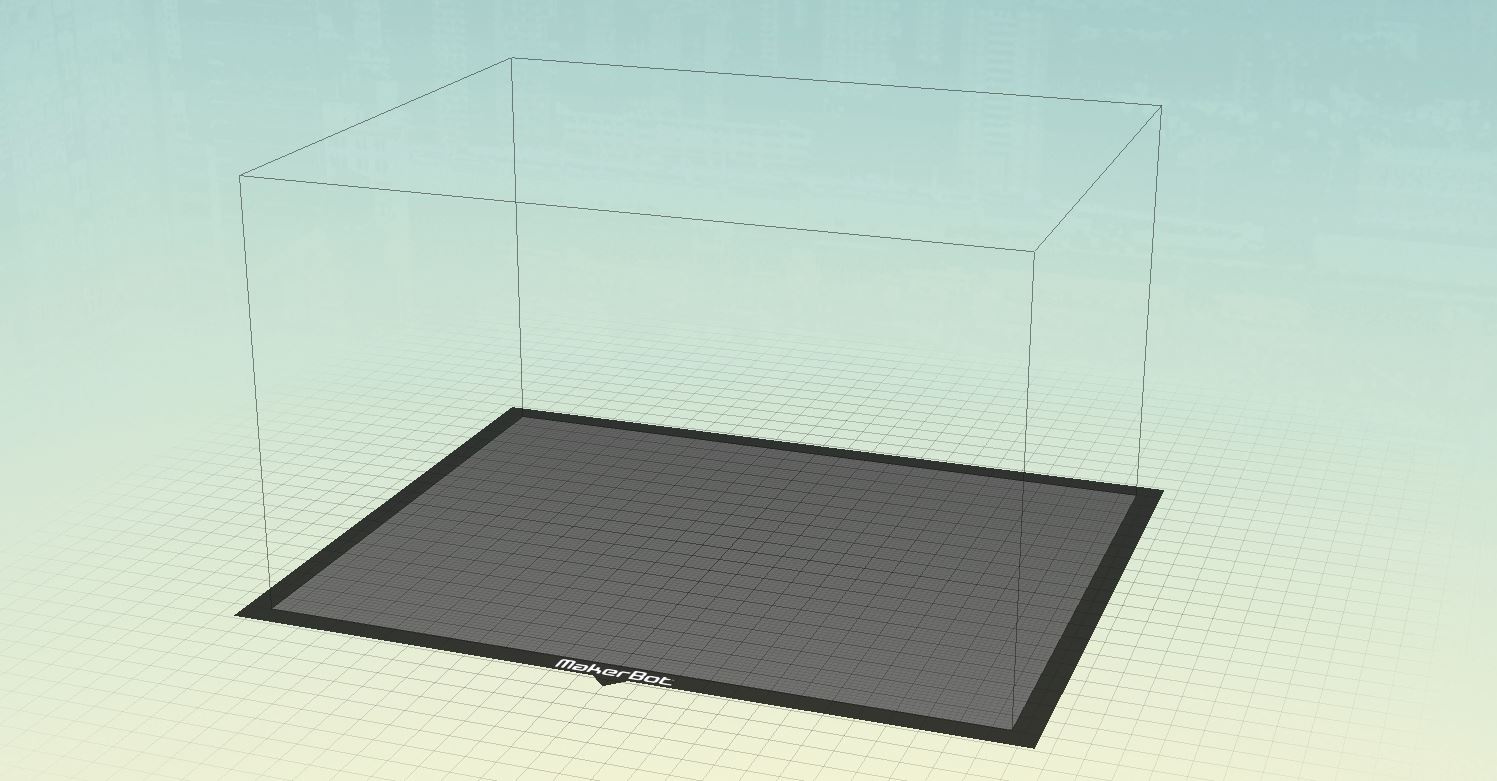
Makerbot Step 1: Opened Makerbot software
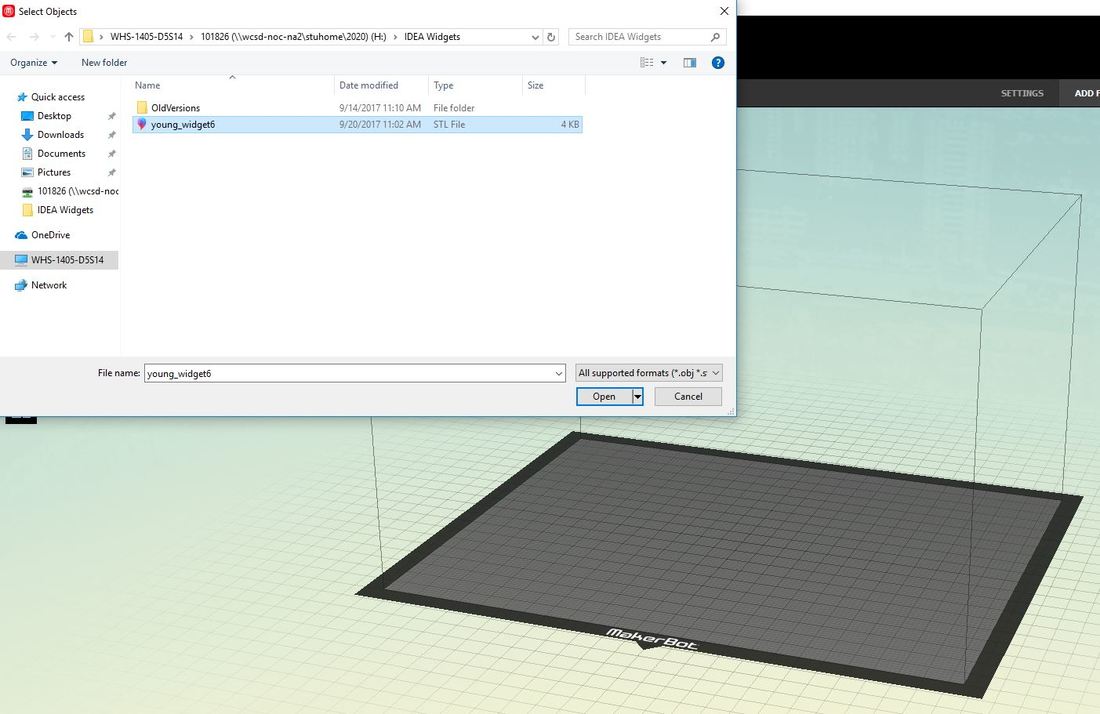
Step 2: Opening my widget STL file in makerbot
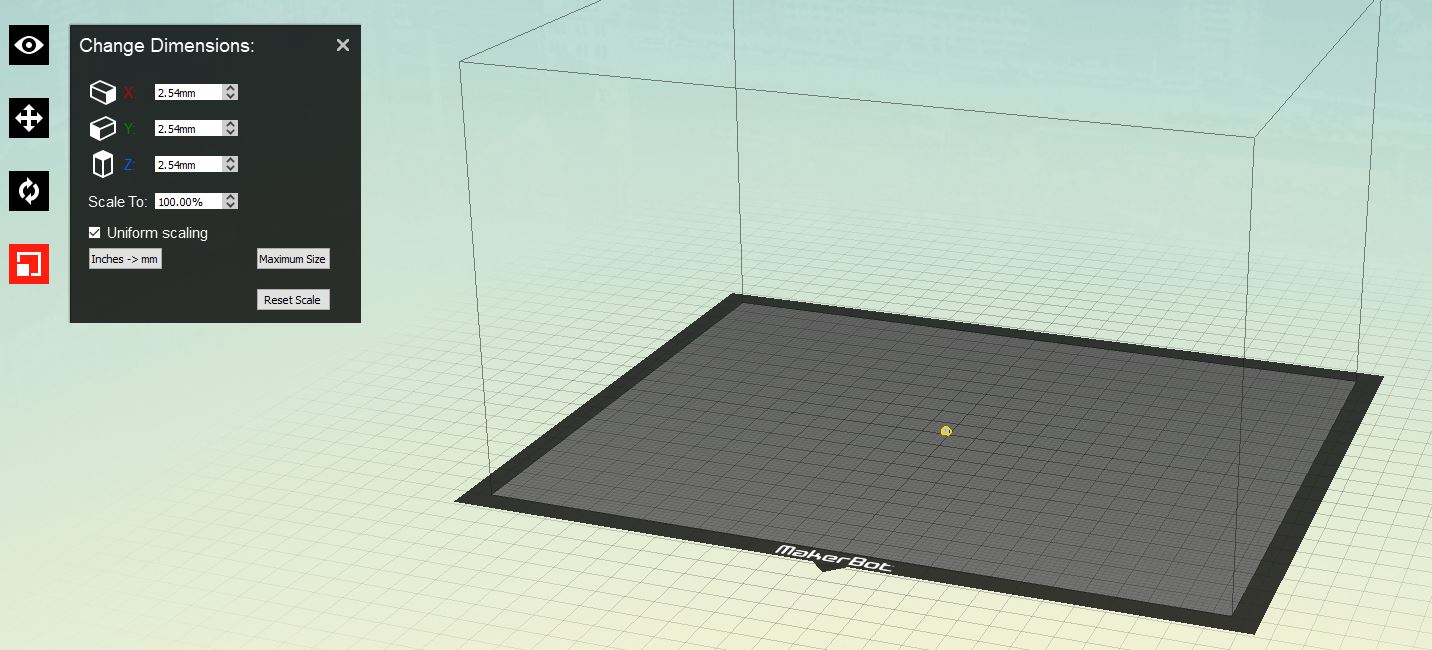
Step 3: Editing the dimensions of my widget by changing the scale to 1000.00%
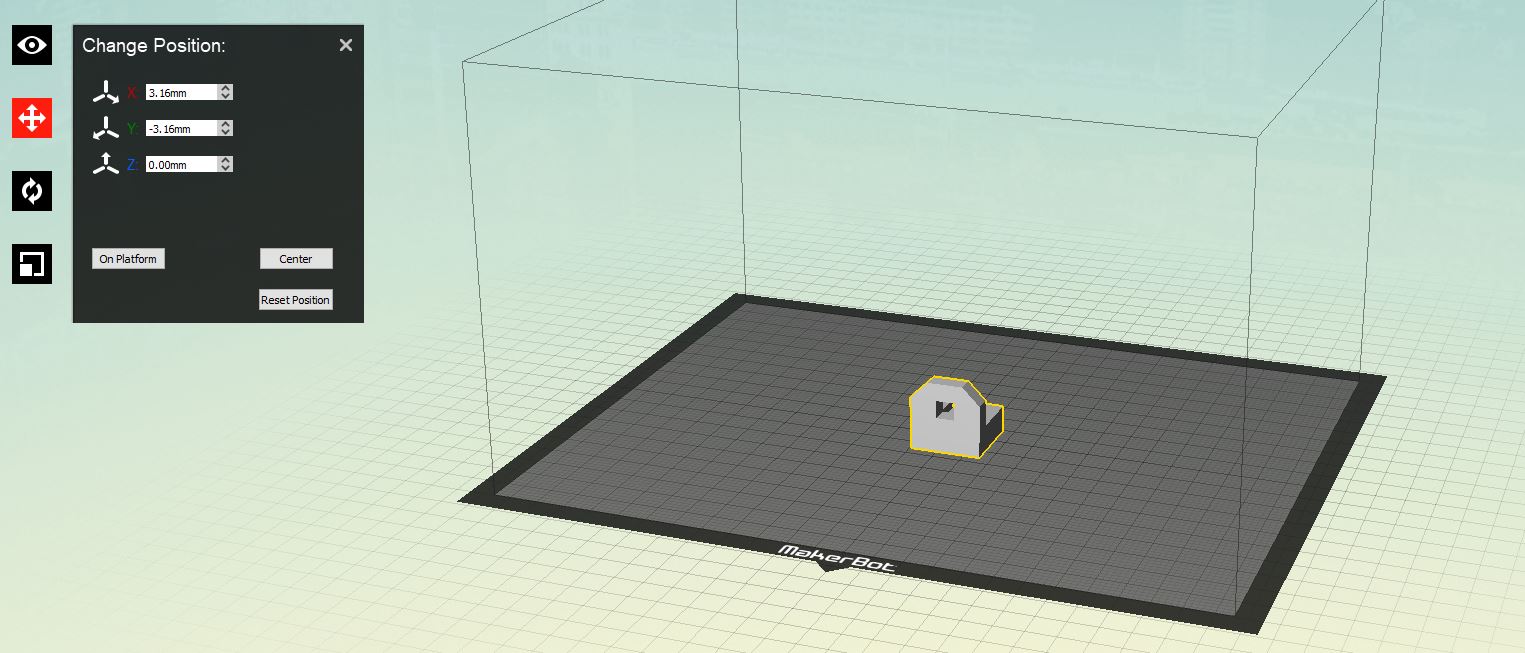
Step 4: Editing the position of my widget by changing the X, Y, and Z values to 0.00mm so my widget is grounded and in the center
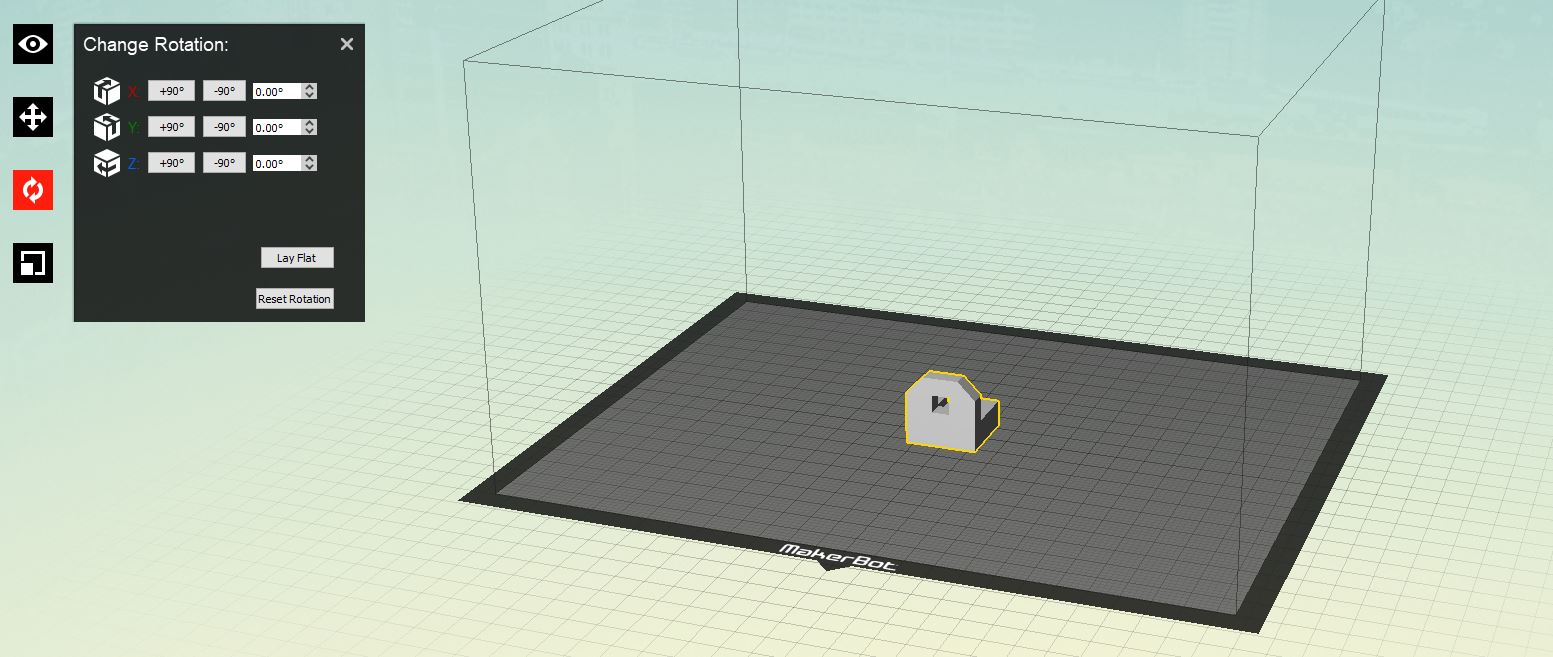
Step 5: Rotation my figure on the X axis 90 degrees so that the hole in my widget wont have troubles when printing
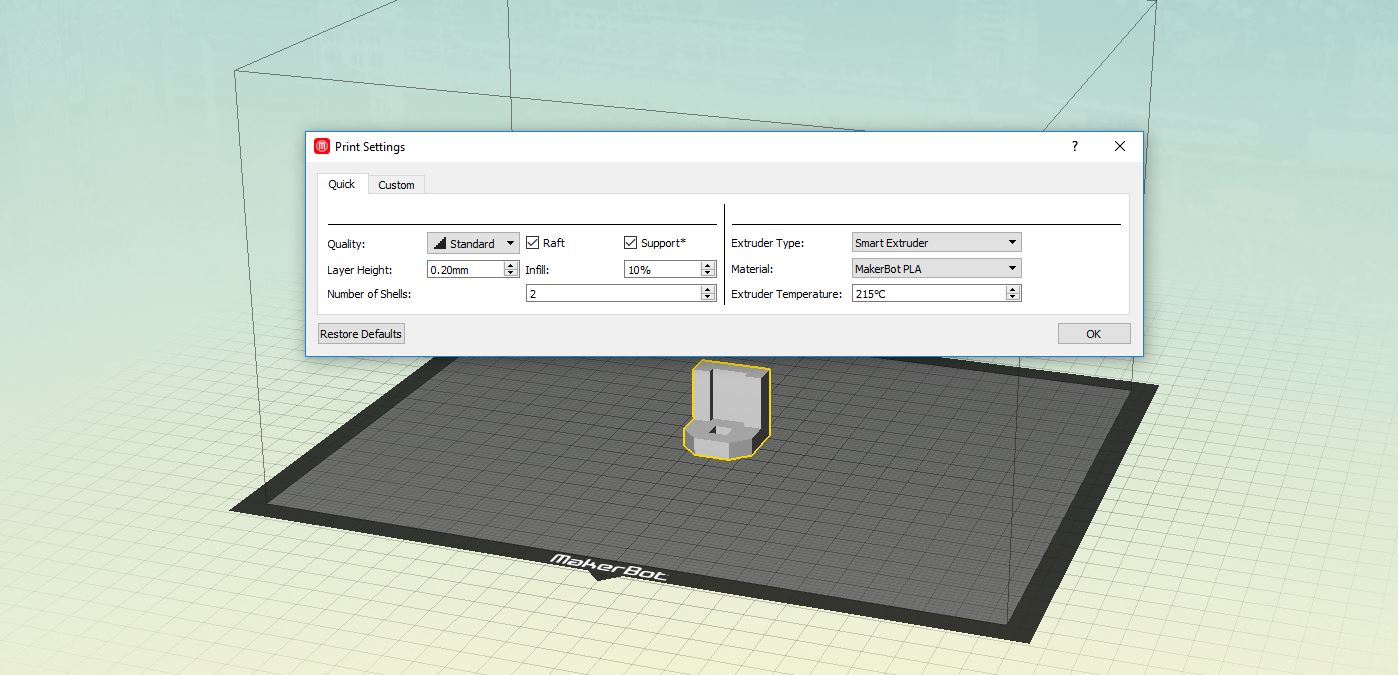
Step 6:
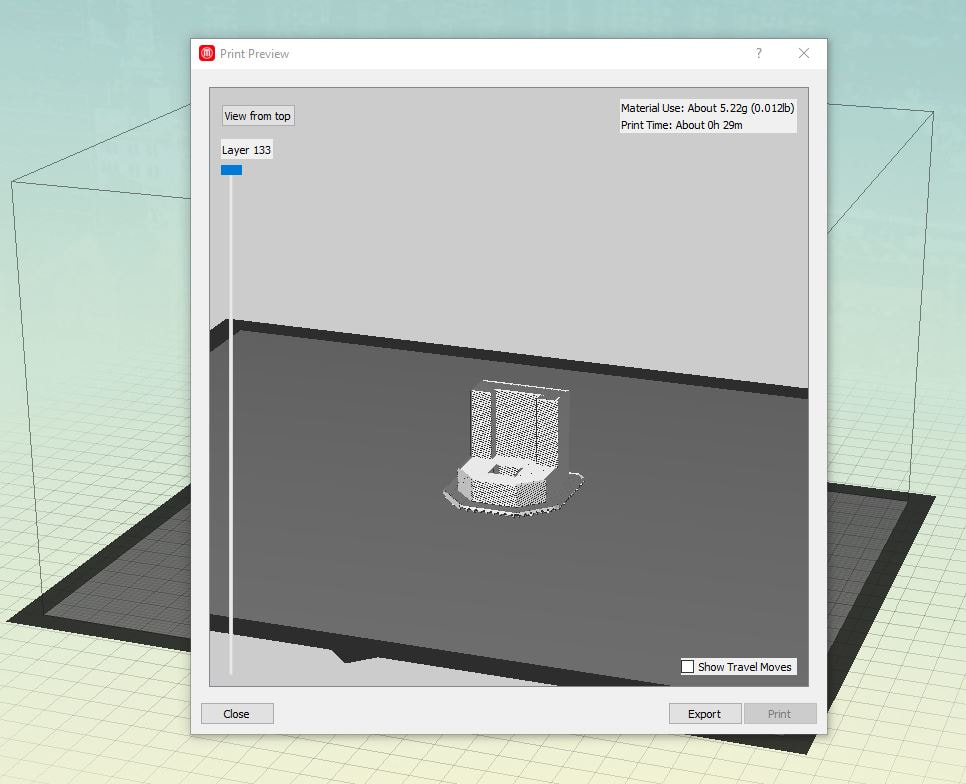
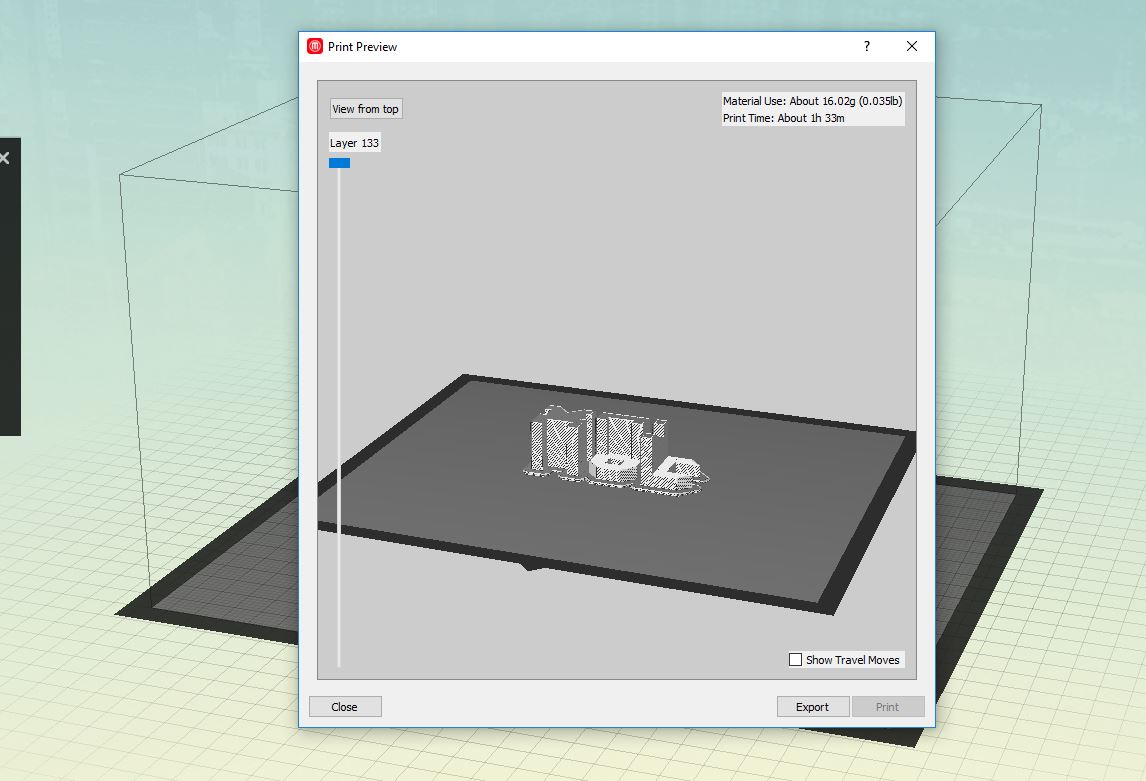
Step 7: Previewing my part to see how much material will be used and how long it should take
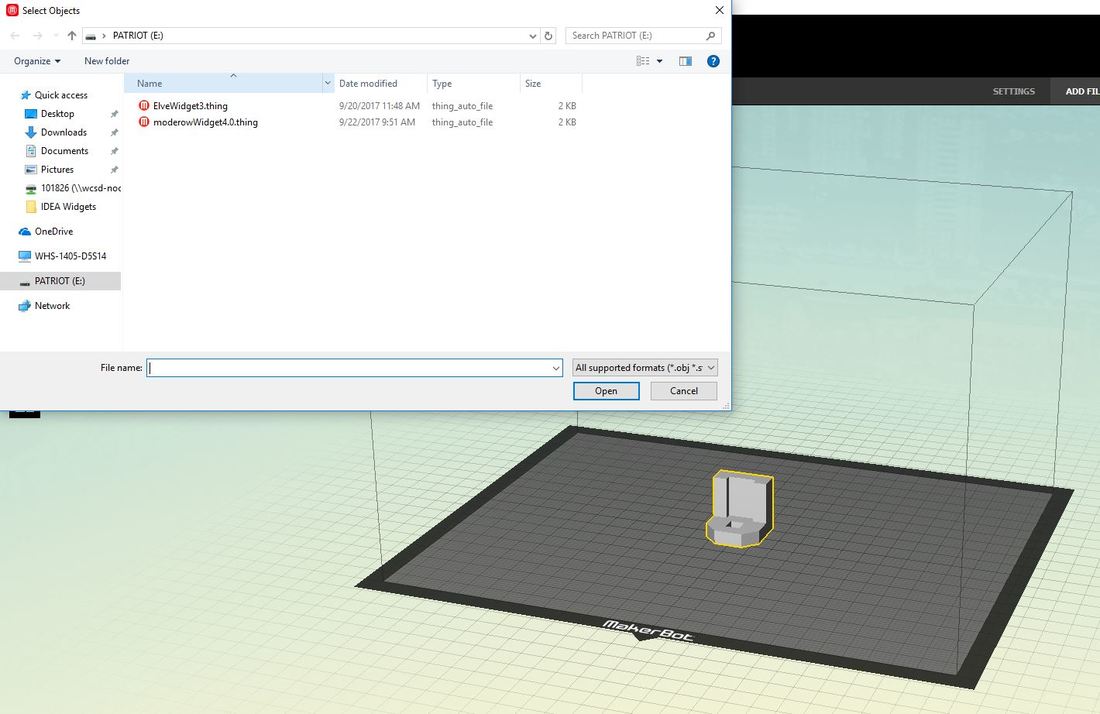
Step 8: Loading my partners widgets on makerbot into my makerbot screen so we can all 3D print at once
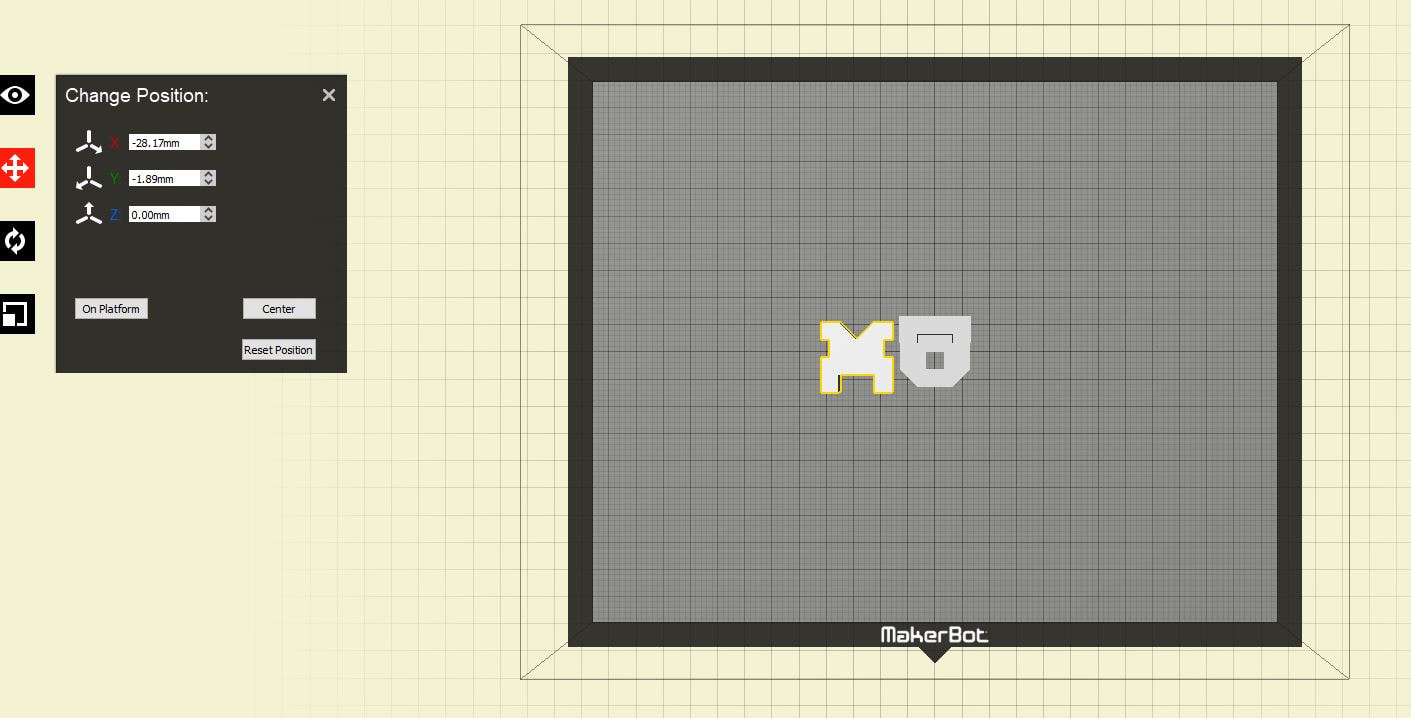
Step 9: Editing the position of each widget I add to the makerbot platform to be close but not touching my widget
Step 10: Previewing all three widgets in the makerbot platform before we export the file
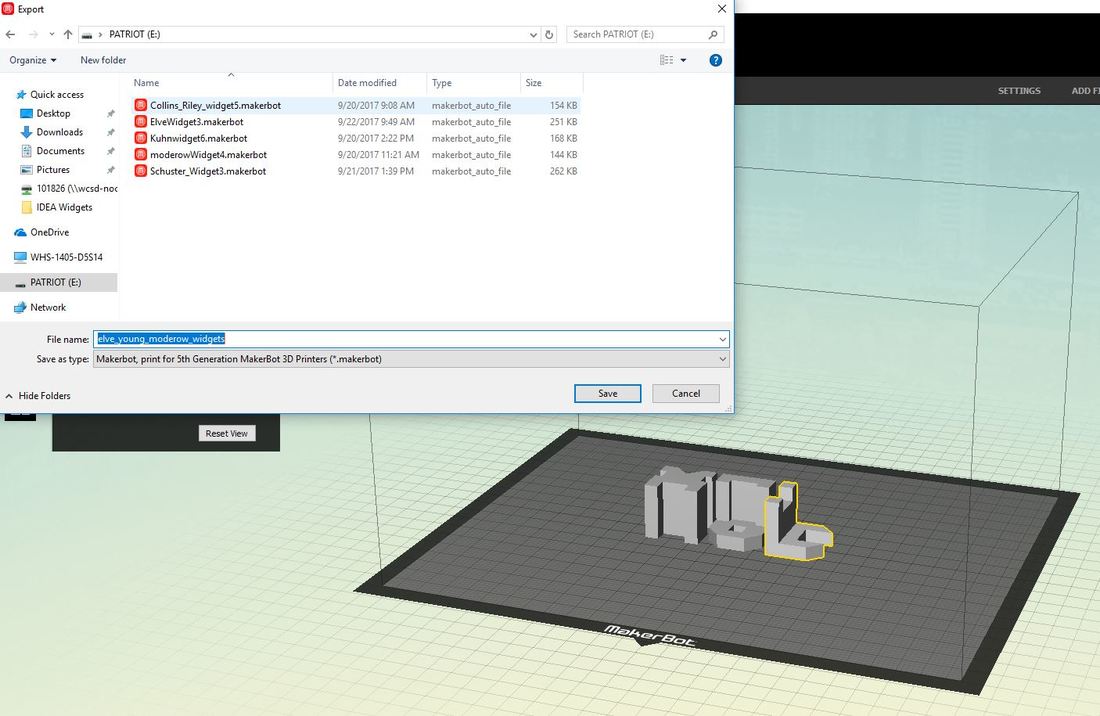
Step 11: Exporting the file as one .makerbot file onto the flash drive so we can start printing
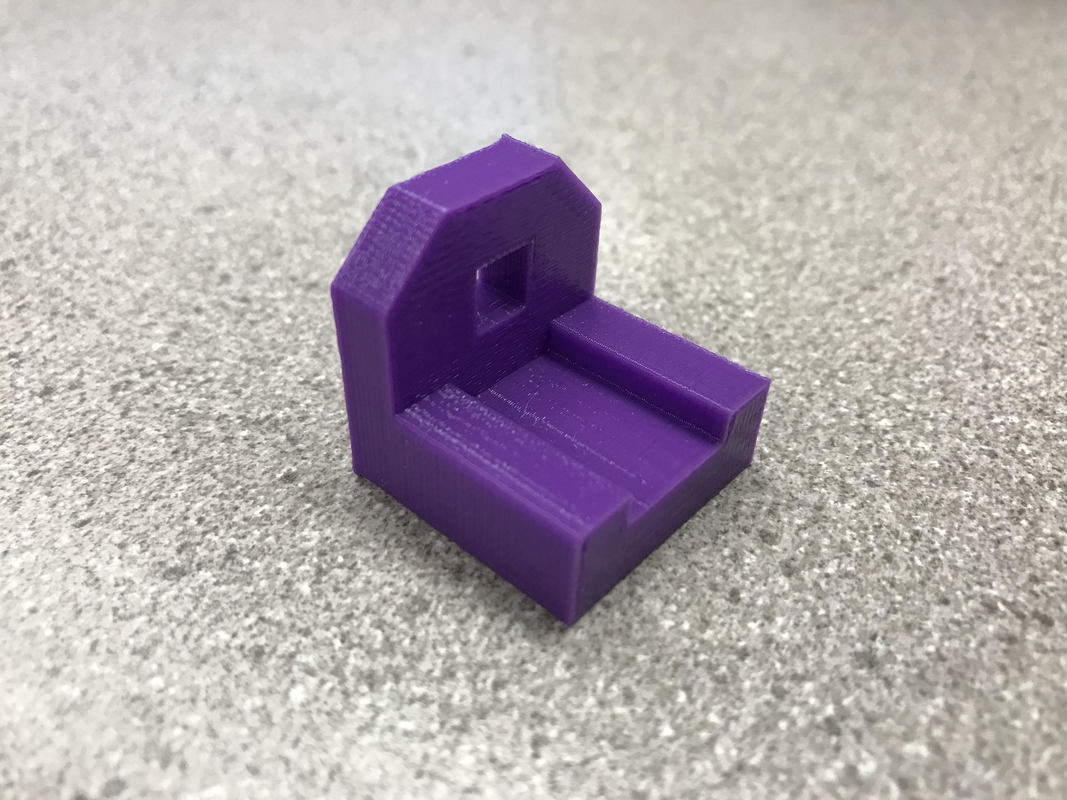
Finished/Printed Makerbot Widget
Summary of what I learned during this process
In this process of using inventor and 3D printing I learned how to use inventor to make three dimensional files that can be sent to a 3D printer and printed out into actual 3D objects in real life. I learned that you need to be specific with dimensions and size in inventor and make sure that everything is set up correctly in the Makerbot software before printing because otherwise it wont work correctly.